Sunday, February 14, 2010

Table Re-Do

So I have a friend from high school living in Idaho named Serenity. After getting married her and her husband Matt couldn’t decide on a dining table-they knew what they wanted but didn’t want to pay the $$ for it. I know exactly how they feel!! Well the waiting paid off when a friend recently gave them their old table . No one really wants an ‘old’ table so they made it their own and gave it ‘new’ life! Instead of just staining it or painting it-but they took the creative side and to match their own tastes and wants turned it into their own vinyl covered diner table!


HERE is a link to the post. Didn’t it turn out cute?

Friday, February 12, 2010

PiLLoWS :)

So I have some new curtain fabric for the front room. I am dying to use it, but I have to remember-one project at a time! I can’t start another ‘till I finish my bay window curtains. I work a tiny bit on them every day-or nearly every day. (Even if my tiny bit of work just includes stopping at the hardware store to pick up supplies). Well, my plan that goes with those front room curtains is making some matching pillows for the couch & loveseat…

Happened upon THIS amazing blog. This wife and mom has some talent and a zillion projects she’s done to browse through…Make It and Love It

I’ve always loved these kind of pillows but they are pricy! So I knew I just would plan to make my own and they’d probably just be a regular ordinary boring piece of fabric. WELL…now I know how to mix it up and I can’t wait to get to that future project!!! Check out this pillow slipcover she made for her house…

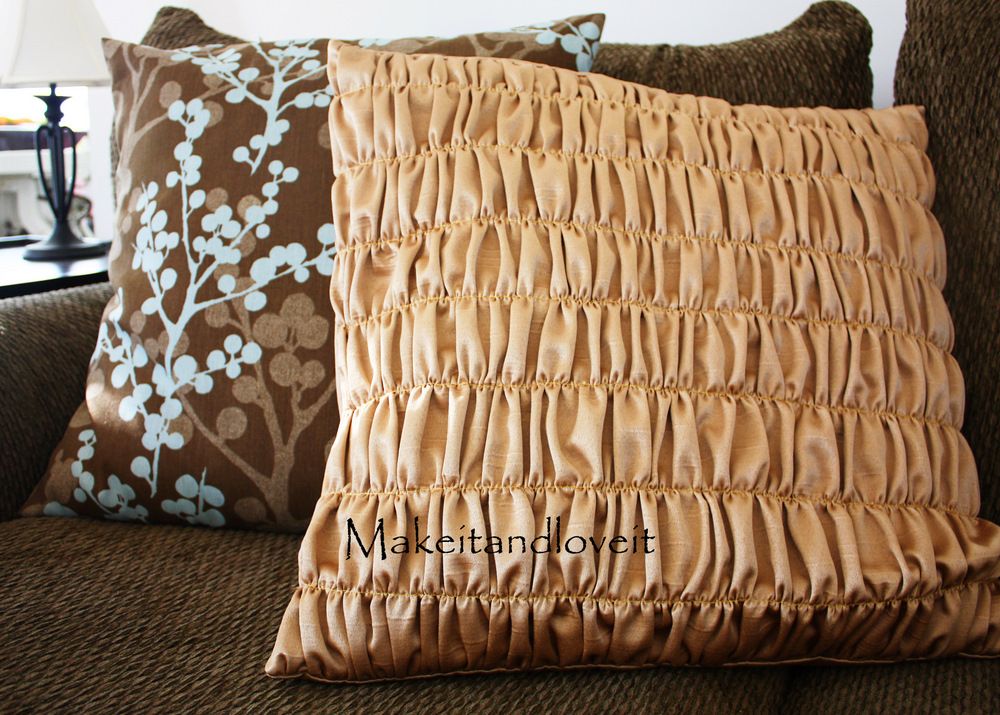
This way of sewing ruffles is giving me all kinds of fun ideas :)

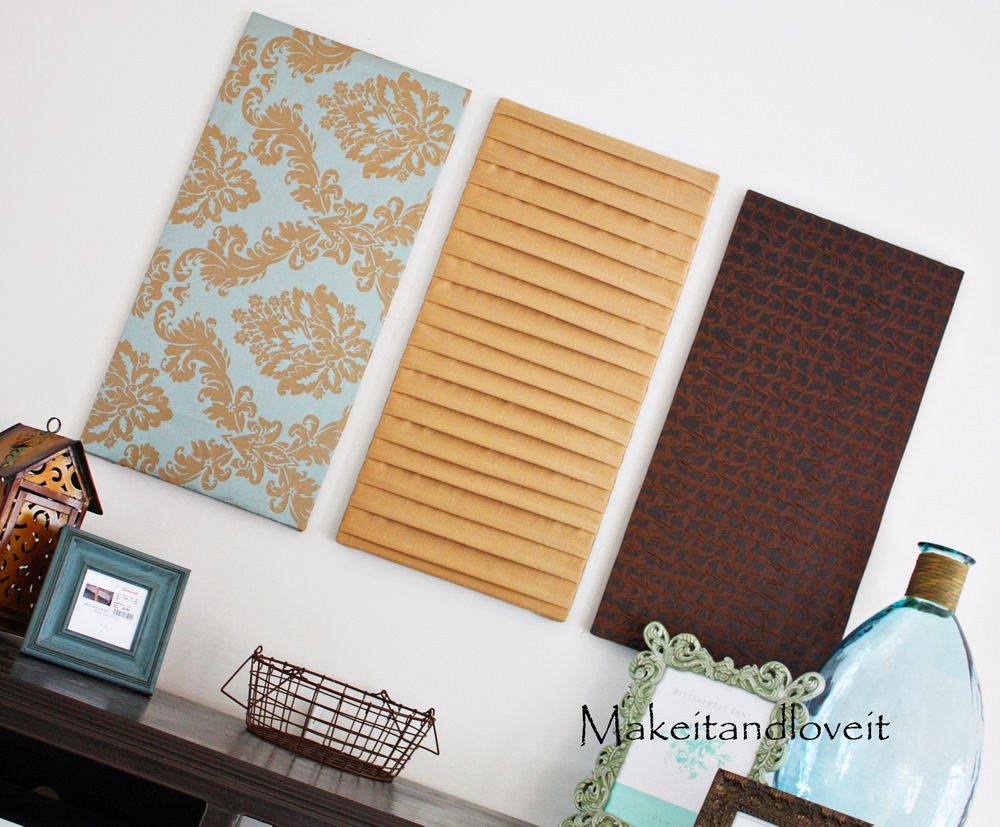
AND I also love her simple wall hangings…super cute!

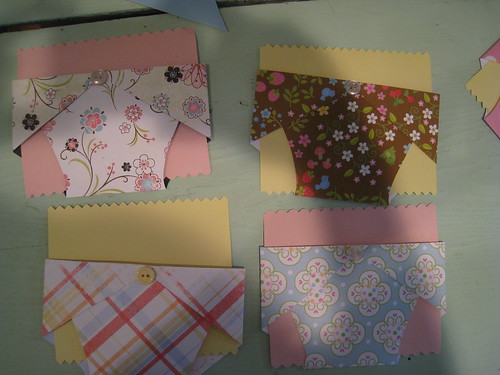
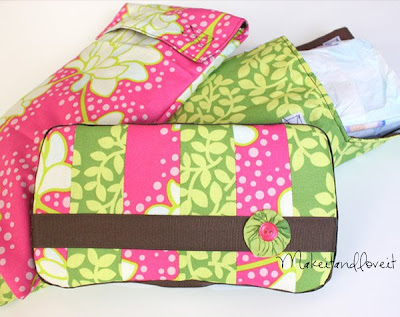
And a whole bunch of her other stuff.  Last but not least I’ll show you the wipes and diaper cases she made. I don’t have any kiddo’s-but someday I can put this to use. Until then maybe they’d make good gifts?

Hope you enjoy browsing her blog as much as I have.

I admire people who take the time to photograph each step of their project and write instructions out for the rest of us. Just doing my little projects I’ve discovered that taking pics of each step is kind of annoying!! It takes up time to set it all nicely, get the layout to include the right tools, and edit out the messy background parts of my project perimeter. THANK YOU to all those talented crafty people who take the time to make all your fantastic tutorials for people like me-that don’t have a clue as to what they are doing :)

IF anyone is bothering to read my ramblings on here: Do you have any favorite websites for crafty inspirations? What kind of things have you made? What was your favorite project? What is your dream project or what do you want to make next?
Please post a comment!! Thanks :)

Monday, February 8, 2010

Things I wanna make…

So this is a neat idea I found at  http://www.flythroughourwindow.comimage For most people this is a dish mat to put on the counter when unloading the dishwasher-for those dishes that just didn’t get dry yet. For ME (who washes the dishes by hand) this would replace my dish towel that I set down next to my dish rack when doing dishes-because the rack doesn’t hold all the dishes I’m washing. It’s super cute and I might just have to see about making one for me in the near future :)

You can see the tutorial HERE on the website

~     ~  ~  ~ ~ ~ ~ ~  ~  ~     ~

I’ve already shown something I found fromClassic Campbell

  Classic Campbell


but here’s another cute thing…  If I had someone to throw a baby shower-I would probably be making these!!!

transformers 015

Aren’t they cute! They are party invitations enclosed in little diapers.  A simple and fun idea! She explains how she made them HERE on her blogpost

~     ~  ~  ~ ~ ~ ~ ~  ~  ~     ~

Now back to the current project which I can hopefully post soon!! I’m making roman shades for my kitchen bay window-and they’re slowly coming along! Last night I marked out all the places for the rings on the back-and sewed all the rings on one of the three curtains. Now I just need to finish sewing them on the other two-and get the hardware to hang and then hang them! Yay!

Sunday, February 7, 2010

My 1st Baby Blanket!

Okay so I went all out on this one (sort of) and made a quilt-batting and tied it too!  Went to the fabric store (good ol’ Joann’s) and bought 2 pieces of matching flannel, batting, yarn, thread, needles, bobbins, and whatever else I needed.  I wasn’t 100% satisfied with the pattern on the flannel at first-but it was the best I could find there for a new little baby boy! After I got it all done though-I think it turned out cute.  I’ve never made any sort of blanket before. It took me probably twice as long as it should have but I learned a lot and and happy with the overall result. Just don’t look too closely at it Molly-because it is very homemade and far from perfect!

Things I’ve learned on this project:
* Buy enough fabric for all the batting! I wasted about 5” of batting because it was that much longer than the fabric. (Okay, so I’m putting it in my scraps just in case it has a future)
* I need to find a way to be able to cut the sides closer to 100% straight before sewing
* After I sew it-check for pins before turning, then check a 2nd time and even a 3rd!  Yes, I left a pin. I used the kind with really big round heads so I could easily find them. You can tell how well that worked. I didn’t find the pin until after I had sewn the hole together from flipping it, so the pin was stuck on the inside. I ended up taking the wire cutters and cutting the whole pin part off-leaving the giant round head inside. Oops! I’ll say its for luck.
* Don’t try to make my machine sew the hole shut after flipping…It was trying to sew through 4 layers of flannel and batting too. I unpicked a few stitches and untied a bunch of knots after that one. It was much easier to just hand stitch the hole closed…
* BE MORE CAREFUL about making sure my pretty boarder is STRAIGHT! Just don’t look too close :)
* I need a little rubber square like my mom had for gripping the quilting needle when tying the quilt. I finally made more use of the wire cutter/needle noses to assist me in pulling the needle through the fabric. Almost at the end though I gripped too close to the eye and broke my needle! Dang!
* As learned in the last part-when using pliers to grip the quilting needle-don’t grab the eye!!
* And make sure I have spare needles-good thing I got the  multi -package!
* my cheapo sewing scissors are sharper than I thought!  I have a missing chunk in my finger to prove it…which leads to the next thing I learned…
* Pay attention and be careful when trimming the yarn after I finish tying…It’s easy to about cut off my finger.
* And…make sure I have a few Band-Aids handy – we don’t want any of my blood on the blanket!!
* And finally-it’s never too early to start a baby blanket. Here I was thinking I had a couple weeks before the baby was coming and we find out today he’s probably going to be here this week! Hope she gets the blanket in time :)

quilt3 quilt1 quilt2

1st Baby Sling

OK, so along with the baby blanket I sent Molly a baby sling. She’d mentioned how she’d like one but they were hard to find for a decent price. I looked them up and thought I could probably try making one!  I found and purchased 2 yds of cute fabric, used thread from my curtain project and put it all together. I followed the tutorial I found HERE at handmade-adelaide-baby.com

The hardest part for me was the french seam (on a curve) but now that I’ve done one I don’t think the next one will be near as bad!

After baby comes we’ll see if it actually fits Molly or not. Hope it does!!   Maybe she’ll post a picture with it later for me :) (hint hint)

Ok, so below is a picture from google images showing WHAT a baby sling actually does…

Pictured below are a few steps of my sling. I forgot to take pics through the whole thing. I’m bad at that…

Basically fold, iron, pin, sew, flip, sew…etc…

sling1sling5sling37sling6